Monday, January 23, 2012

The Rustic Door

When we bought our "new" house we had already noticed the "fine" craftsmanship that the previous owner had hired out.  The wood doors and trim were all hung wrong and they were all partially finished in a Fruitwood stain.  Some doors scraped the floor when opened and some magically shut on their own.  With 19 doors total we knew this was going to be quite a project so this weekend we started with our first door makeover!

I fell in love with the post from From remodelaholic.com.  She used a new frontdoor and installed straps and metal "buttons".  The front door turned out beautiful but I wanted to use the concept on an interior door and make it more economical.  And so it begins!

Since the door had fruitwood stain on it with no poly my hubby lightly sanded it keeping most of the fruitwood stain.  (We did not want to remove all the stain so all the trim would match the doors)

I neglected to take a picture of the "before" door but I hadn't started on the back of the door yet and it is comparable to what the front looked like.  Here is the before:

As you can see it is pretty bland.  The black doorknob has already been added to replace the shiny brass one.

The door was taken off it's hinges (brass ones) and lightly sanded to smooth down some of the rough spots.


Now for the supplies :


Stain and polyurethane.  Rustoleum has a great stain that contains more color pigments so only one coat is neccesary.  Love that!

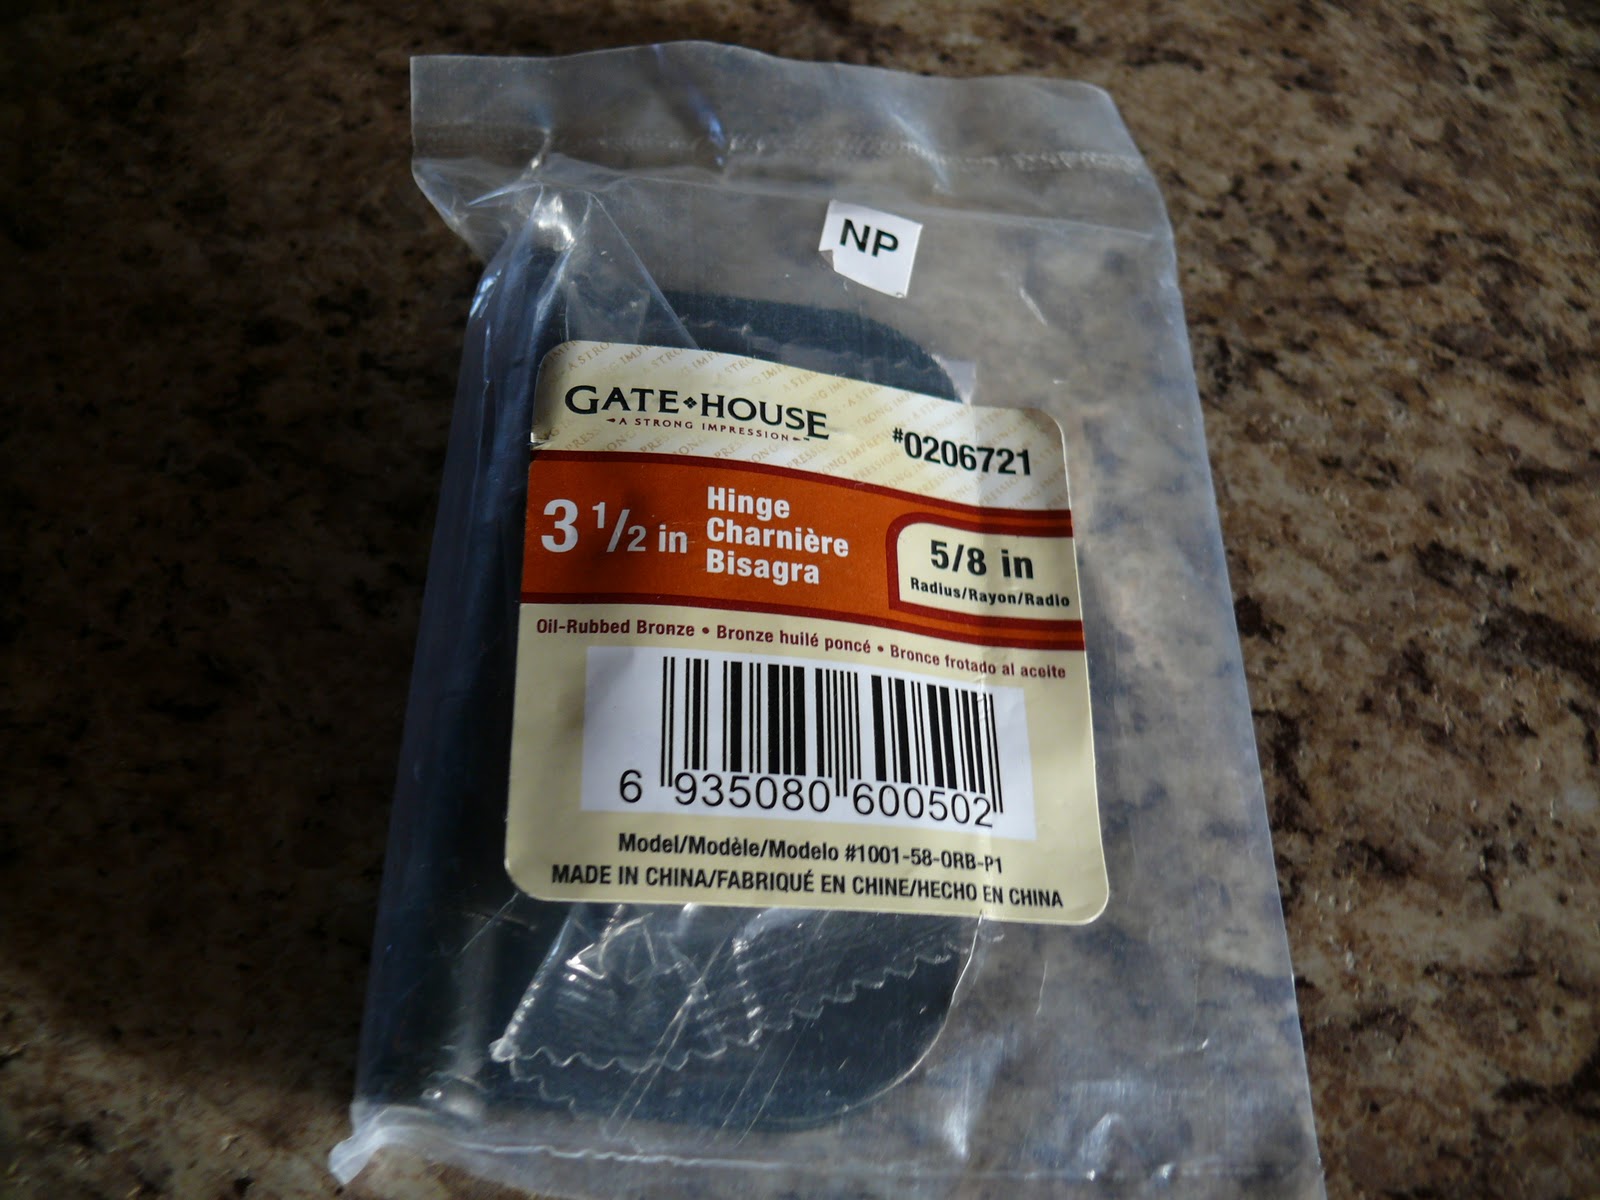
I bought three new hinges although I think it would have been possible to spray paint the old brass hinges.  I'll try that on the next door.


These buttons are for covering the bolts in newel posts for a staircase.  After searching all over Lowes for something appropriate I found these on the bottom shelf in the trim aisle.  Cost was $1.80 for 6 and I needed 28.  Story of my life.

Since the buttons were going to be painted black I opted for a black interior Schlage.  These are very well made knobs and they don't come cheap.  This knob was $21.00.  I thought about spray painting the brass knob black but I didn't know if the finish would hold up so I went with a sure thing. :-)


Next up was practicing on scrap wood for the dimensions of the buttons.  A little less than 1/2 inch in diameter and about 1/8 inch deep.  This allowed for the lip of the button to sit perfectly in the hole.

Now it was time to begin!  Since it is January we brought the door upstairs so it could be stained in a warmer environment.  The door was put on two sawhorses with a heavy guage plastic underneath to catch any spills.  I practiced with the buttons in different positions before I found a distance I liked.  2 inches from the edge of the wood looked perfect to me so my husband made a template with a two inched border and a mark in the middle.  He then centered the template on each panel and used a nailpunch to mark the center.  When all 28 were drilled out I took a tack cloth and cleaned all the dust and debris from every surface on the door.  One piece of dust can ruin the whole finish so make sure you don't skip this step.

Hubby took the 28 buttons and set them up in the garage and painted them a satin black.  There was no reason to paint the back because it wouldn't be seen....ever. :-)  After the black dried he sprayed on a satin polyurethane and after about two hours they were dry and ready to go. 

I used one coat of the Rustoleum autumn and made sure it was a thin even coat and slowly removed all the bubbles.  You have about a 10 minute window to smooth the stain out.  This brand of stain is suppose to be dry in one hour so work quickly and carefully.  I worked on individual sections at a time in case it started drying on me.

After the stain was dry I applied a thin coat of satin polyurethane in sections like I did the stain.  Try to have plenty of light in the room so you can see if you missed any spots.

After a few hours the poly was dry and it was time for the buttons!  I dropped a small amount of gorilla glue in each hole.  Be careful with Gorilla glue because it will expand up to 3 times so less is more with this product.  After the glue was applied I carefully dropped each button in the hole and pushed each one down to make contact.

After two hours the glue was set up enough to install the door.  Hubby added the new doorknob and hinges and I absolutely love it!  All of the rest of the doors will be getting the same treatment so 18 more to go!

Here are pictures of the finished project!


Friday, December 30, 2011

Rusting sawblades!


  Since we moved into our farmhouse at the beginning of this year I have decided to go with a more "rust and dust" type of decor.  After shopping at several antique malls I fell in love with rusted sawblades!  After deciding to do my entry in rusted sawblades I went back to the antique malls to get my rusted sawblades and that is when I noticed the price!  Holy cow!  $18 bucks was the average...per blade!   After a long day of shopping I arrived home with no purchases but plenty of ideas!  I remembered that when I was in High School and took Shop class (yes...girls can take it too) we had a project on how to remove rust.  The problem was the shop class didn't have anything rusty so we had to make it ourselves.  With my past now colliding with my future, I decided to rust my own sawblades.  And it begins.....


You will need:

Bleach
Apple cider vinegar
Metal cookie sheet with sides (do not plan to use this cookie sheet for anything else)
Spray Polyurethane
Saw Blades (small enough to fit inside a cookie sheet pan)

And lets rust!  Find an area outside or in the garage where you can set up a small table.  Bring out your sacrificial cookie sheet and set it on top of the table.  Mix one cup bleach with two cups of apple cider vinegar. (FYI - Make sure that you are wearing old clothes in case you spill the bleach)  Pour the mixture into the cookie sheet making sure it doesn't spill over.  Slip one sawblade into the mixture and wait about 5 - 10 minutes.  You can actually see the sawblade beginning to rust almost immediately!  After 5 - 10 minutes carefully lift the sawblade out of the mixture and place against something outside where it can stand up.  I used the side of the front porch but trees would be good as well.  The sawblade will continue to rust outside for the next 24 hours.  If the rusting is not deep enough, you can repeat if needed.  After the blade is rusted to your satisfaction you need to spray polyurethane on both sides to seal in the rust and congrats!  You just saved money!  You could also probably make money with them as well just check out the prices on Etsy and EBay!

Note - This is not limited to just sawblades.  There are quite a few things you can rust that are metal.  Let your imagination go!

PS...I accidentally bought a no rust sawblade at a yardsale and I did get it to rust but it took me about three days of dipping and drying.  It is much easier if you don't get those :-)

Happy New Year from Casa Del Paca!

Edited to add - These sawblades can be sharp so they need to be secured to the wall at a height that small children can't reach.  They also look great above the kitchen cabinets but my all time favorite way to display them is framed.  I buy a piece of black felt and an 8 x 10 frame from Wal-Mart and simply take the frame apart and use the black felt as the background and lay the sawblade on top of it.  It looks stunning and is much safer with small children. 


Sunday, December 25, 2011

Project Farm House Remodel

Merry Christmas! It has been so busy at the farm that I haven't had time to do any updates to the house and that is going to change for 2012! My New Years Resolution is to do a room every month until it is finally finished. I laugh at the word "finished". It will never be finished but I will enjoy every second of it. Maybe not every second but at least some of it :-)

My first room to tackle is one of the upstairs bedrooms. It is now a light silver color with shades of hot pink peeking through where the previous painter must have not cared or wasn't paid very well. This bedroom will be a tone on tone with the emphasis being in the ivory family. I don't know if I can do this without throwing in a "pop" of color but we shall see!

Second room will be the western theme bedroom upstairs.

Third room will be antique red and cream bedroom upstairs.

Time to start figuring out how I am going to accomplish all my goals and still keep running an Alpaca farm!

See you on the other side!

Wednesday, October 12, 2011

The incredible dung beetle

Note - You can see from this picture that the Dung Beetle is rolling an Alpaca bean towards the hole he has dug out.

A little background history:


When we first purchased our foundation herd I had researched the communal dung pile and the statistics that Alpacas leave a deposit on average of one pound of Alpaca beans per day. My foundation herd consisted of 4 females and 2 males which would result in a daily "gift" of six pounds of excrement per day. I knew that shoveling the beans would be a daily chore and one I was not looking forward to. After about one week I noticed that the bean pile was becoming smaller each day and there were small clumps of fresh dirt in and around the dung piles. I studied the piles at various times of the day and found that early in the morning there were small bugs about the size of a quarter in and around the dung piles. They reminded me of scarabs that were in the movie The Mummy.


My first thought was to eradicate these scary little bugs but I thought I should do a bit of research first and I am so glad I did. The dung beetles that have made my farm their home fly from pile to pile mostly during the night and dig holes so that they can roll the Alpaca bean down into the hole where the female takes over. She puts the bean in a burrowed out cavern and lays her egg. When the egg hatches the larvae eats half of the bean to survive and then when he is old enough he leaves the cavern and the remainder of the bean is left to fertilize the ground. There are many types of Dung beetles and the scarabs we have adopted are known as traveling beetles.


Basically what I have is an ecosystem that cleans up the communal dung pile and fertilizes the surrounding ground. As Martha Stewart would say, "It's a good thing".


Here is a good link to the Dung Beetle:


Monday, October 10, 2011

It's never big enough :-)


We started out with a two tone pole barn that wasn't quite what I envisioned at Casa Del Paca. Items on the wish list were a front porch for shade and to help keep the elements out as well as two wings to add tractor storage and more stalls for the male alpacas.

With a few tweaks and a bit of cash we were able to turn a standard equipment building into a red barn that was not only nice to look at but fit all our storage and alpaca needs. Notice how kind the hubby was to install a wagon wheel so it appeared to be more "barn like". :-)


The after picture shows our "new barn" with the facelift. I opted for the Rustic Red with white trim instead of the standard red. Here is the new barn that measures at a robust 70' wide by 50' deep.


Saturday, June 11, 2011

It all begins at the front door


My long list of to do things keep getting longer but I thought the best place to start would be the front door. To me the front door makes a home more inviting and immediately informs the guests who visit what kind of home you have. I chose a color that I have always loved called Bearclaw by Valspar. It's a deep rich rust color that tells your guests that they are about to enter a home that is different.


Now I needed something a little different that would add a touch of distinction to the door so I took the plunge and visited my daughters favorite website called Etsy.com. When I typed in door numbers I found a wonderful site that cuts and prints rub on house numbers. To tell the truth, I was a bit excited. So excited that I instantly ordered them and then remembered that I had a glass front door and not a solid door. This was a strong hint that we have owned too many houses. :-) I didn't cancel the order out of guilt and thought maybe I could use them somewhere other than the front door. When my little package arrived it was in an adorable little tube with directions and a handwritten message. So cute! I am used to Ebay where you get your item in an old shoe box wrapped in duct tape and stuffed with old Famous Barr ads for padding. If you happen to go to Etsy.com be sure to check out the seller named Singlestory. You will be glad you did!


After reading through the directions. (well, I skimmed the highlights and looked at the pictures) I proceeded to add my house numbers to the bottom of the door. I love the look! Now on to the next project!!

Saturday, June 4, 2011

Where to start?

Where does the list start and where does it end? Change our lifestyle? Check. Buy a farm? Check. Bring the Alpacas to the farm? Check. Renovate the farm? Totally unchecked. Perhaps unchecked for years to come but we are going to take it a day at a time.